
Having a robust PA system in a church transforms the auditory experience, ensuring that services are not just heard but truly felt. This article explores the core components and setups needed to achieve such an experience, emphasizing the significance of audio clarity and audience engagement. By focusing on these elements, we aim to highlight how the right technology and setup can elevate the spiritual ambiance of church services. Let’s take a look at this easy church PA system setup guide.
Understanding PA System Components
Essential Components for a Church PA System
A church PA (Public Address) system is a key tool in ensuring that services are audible, engaging, and run smoothly. From sermons to musical performances, the right setup can greatly enhance the worship experience. Here are the fundamental components needed for an effective church PA system:
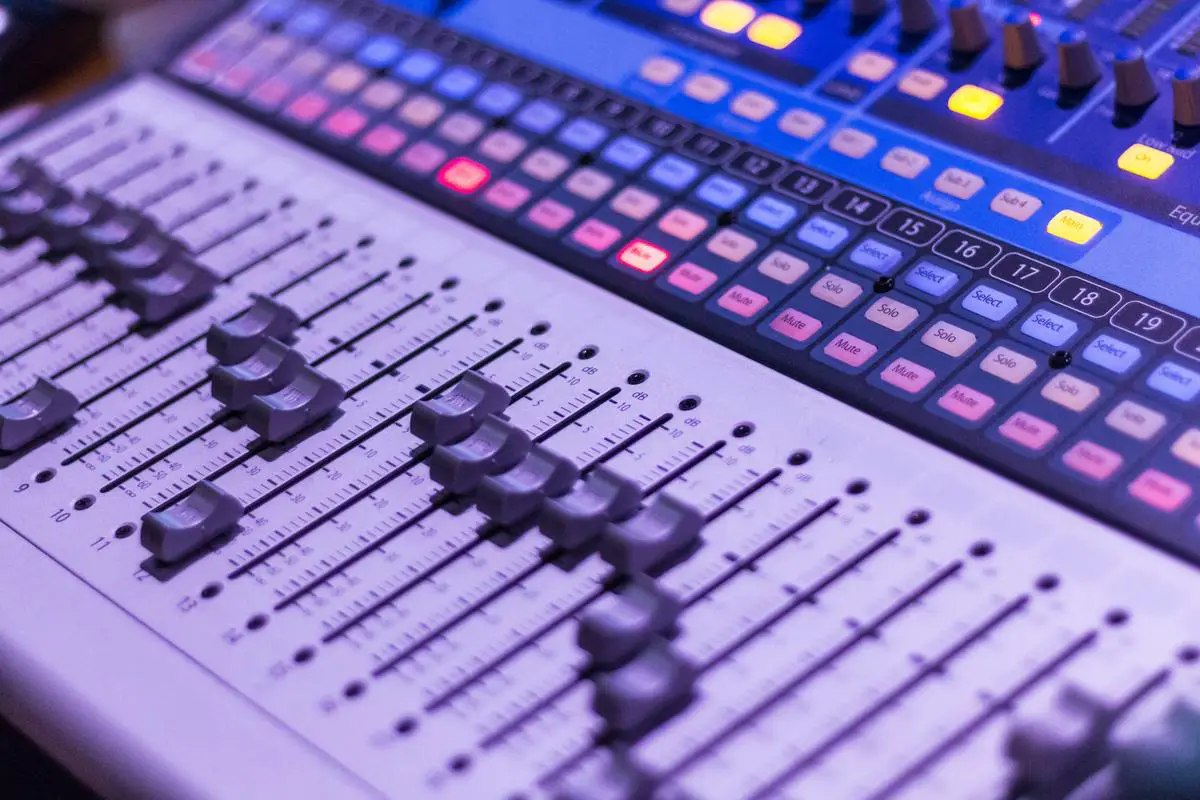
- Mixer: The centerpiece of any PA system, a mixer allows for the control and balancing of sound from various sources. It combines microphones, instruments, and other audio inputs, adjusting levels to ensure clarity and volume are maintained throughout the church.
- Microphones: Essential for amplifying the voices of the pastor, singers, and speakers. A variety of microphone types, including handheld, lavalier (clip-on), and headset microphones, may be needed depending on the specific requirements of the church’s activities.
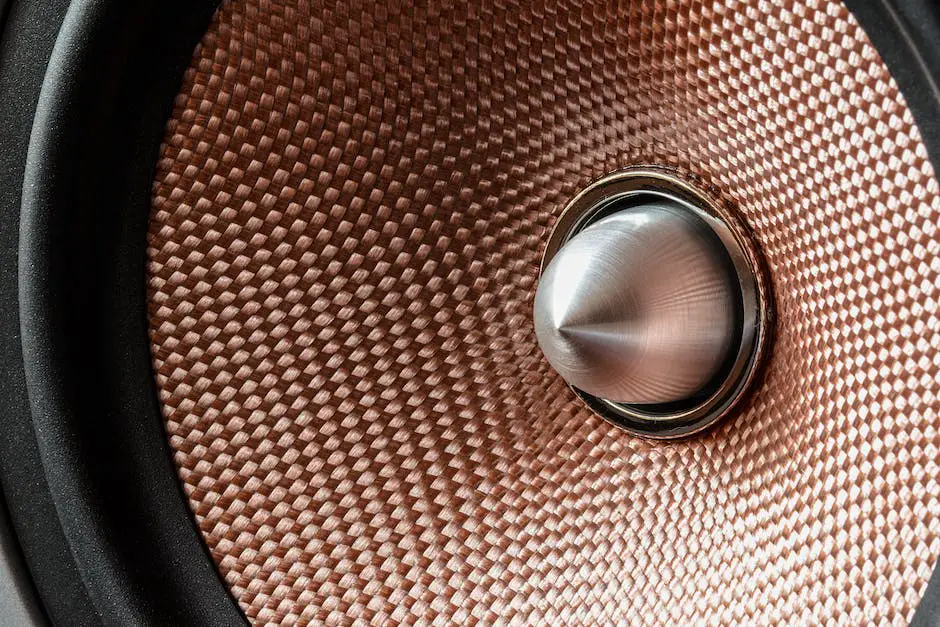
- Speakers and Monitors: Speakers project the sound to the congregation, while monitors allow those on stage to hear themselves. The size and acoustics of the church will determine the number and type of speakers required. Larger spaces may need additional speakers placed throughout the area to ensure even sound distribution.
- Amplifiers: Amplifiers boost the audio signal from the mixer to a level that can drive the speakers effectively. They are crucial for larger systems where the mixer’s output alone is insufficient to power the speakers.
- Cables and Stands: Cables are necessary for connecting all the components of the PA system. Quality cables reduce the risk of audio interference. Microphone stands, speaker stands, and mounts are also needed to correctly position equipment for optimal sound projection and to help prevent feedback.
- Equalizer: An equalizer allows for the adjustment of specific frequencies to fine-tune the sound. This can be especially important in managing acoustical challenges in the church building, such as echoes or dead spots.
- DI Boxes (Direct Injection): For instruments that are electronically balanced, such as keyboards and electric guitars, DI boxes convert their output to a microphone level signal that can be fed into the mixer, ensuring that the sound remains clear and free from noise.
Setting up a church PA system requires thoughtful consideration of these components to meet the needs of your congregation and space. While the technical aspects might seem daunting, focusing on this foundation ensures that services are delivered with clarity and impact, making every word and note resonate throughout the church.
Setting Up the Audio Mixer
Setting Up and Configuring an Audio Mixer for a Church Service: Gain Structure and Effects
Moving forward in our journey of setting up and configuring an audio mixer for a church service, it’s crucial to understand gain structure and the integration of effects – elements that ensure clarity and enhancement of sound during service.
Gain Structure: The Foundation
- Start with Setting Levels: Begin by setting all your channel faders (sliders) to zero or the unity position (often marked by a ‘U’ or ‘0’ on the mixer). This is your starting point for adjustments.
- Adjust the Gain/Trim: Each channel on your mixer has a gain or trim control. With the channel’s source (microphone or instrument) connected, adjust the gain so that the mixer’s meter reads around 0 dB during normal performance levels. This step ensures that the signal is strong enough without distorting.
- Channel Faders and Main Mix: After setting the gain, adjust the channel faders to blend the sounds according to the service’s requirements. Finally, adjust the main mix fader to control the overall output volume without pushing into the red zone of the meter, indicating potential distortion.
Integrating Effects for Enrichment
- Reverb and Echo: These effects add depth and dimension, giving life to vocals and instruments. Start with a subtle amount of reverb on vocals to fit the room’s natural acoustics. Adjust the decay time and level until it enhances the sound without muddiness.
- Compression: Use compression on dynamic sources like vocals to maintain a consistent volume. Set the threshold so that compression kicks in during louder passages, adjusting the ratio to control the amount of compression. Be cautious; over-compression can lead to a lifeless sound.
- Equalization (EQ) on Effects: EQ can be applied to effects like reverb or a vocal channel to shape the sound further. For instance, reducing low frequencies on a reverb can prevent muddiness, while a slight boost in the high frequencies can add clarity to vocals.
Soundcheck and Final Adjustments
Conduct a thorough soundcheck before the service, with all performers simulating a live performance. It allows for real-time adjustments to gain, fader levels, and effects, ensuring a balanced mix. Listen attentively to the mix in different parts of the room, making adjustments as needed to accommodate variances in room acoustics.
In conclusion, setting up and configuring your audio mixer with proper gain structure and effects integration is crucial for achieving a clear and vibrant sound during church services. By methodically adjusting levels, integrating effects, and performing a soundcheck, you can ensure a powerful and inspirational service.
Optimizing Speaker Placement and Sound Check
Best Practices for Speaker Placement and Conducting a Sound Check in a Church
Speaker Placement:
When it comes to enhancing the auditory experience in a church setting, strategic placement of speakers plays a pivotal role. To ensure optimal sound distribution, place the main speakers at the front of the church, slightly above the congregation’s ear level, aiming towards the seating area. This positioning helps in projecting sound directly to the audience, minimizing echoes. For larger churches, consider using additional speakers placed along the sides or back of the room to ensure that sound reaches every corner evenly.
It’s vital to maintain a clear line of sight from the speakers to the audience. Obstructions can cause sound shadows, leading to uneven sound distribution. If the church architecture includes pillars or balconies, use them to your advantage by installing satellite speakers that can help fill in these sound shadows.
Subwoofers, responsible for reproducing low-frequency sounds, should be placed on the floor to take advantage of the ground-coupling effect, which enhances the bass response. However, to avoid overpowering bass resonances, place subwoofers away from corner positions.
Conducting a Sound Check:
Conducting a thorough sound check is essential for achieving the best sound quality during church services. Start with a line check to ensure all connections are secure and each instrument and microphone is correctly routed to the mixer. This is a good time to check for any faulty cables or connections.
Begin the sound check by setting the volume levels of individual instruments and vocals. Ask each musician and vocalist to play or sing one at a time, adjusting their levels to achieve a balanced mix. Remember, the aim is to replicate the natural balance of a live performance, not to overpower the vocals with instruments or vice versa.
Once individual levels are set, proceed with a group sound check, allowing the whole band to play together. This step is crucial for adjusting the overall mix and making sure all elements blend harmoniously. Pay special attention to the volume of the lead vocals; they should be clearly audible above the instruments.
During the sound check, walk around different parts of the church to listen for any inconsistencies. Variations in sound levels or clarity might require further adjustments to speaker positions or individual volume levels.
Lastly, consider the dynamics of different segments of the service. Adjust the sound levels accordingly, keeping in mind that spoken words might require a different volume level compared to musical performances.
By adhering to these practices for speaker placement and conducting a sound check, you can significantly enhance the auditory experience in a church setting, ensuring that every note and word is heard with clarity and depth.

Mastering the art of PA system setup and optimization in a church setting is more than a technical challenge; it’s a pathway to enhancing worship and connection within the community. Through the careful selection of equipment, strategic placement of speakers, and meticulous sound checks, we can create an environment where every sermon and song resonates deeply with the congregation. This endeavor, aimed at delivering unsurpassed audio quality, ultimately supports the church’s mission to uplift and inspire.


 - Church Creative Pros")
 - Church Creative Pros")